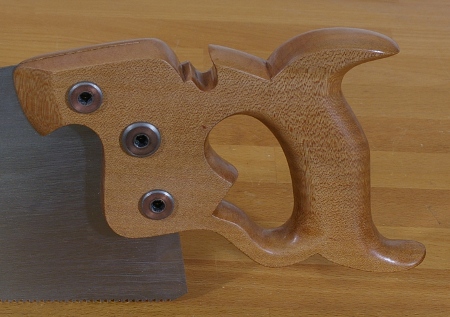
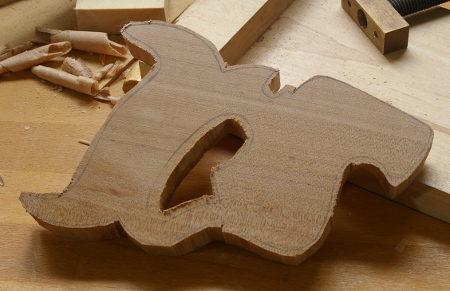
When I remark that I’ve cut teeth entirely from scratch on many of my saws, some people think that it either involves stamping, a machine, or some sort of magic trick. It’s nothing of the sort. If a klutz like me can do it on the abomination of a saw vise that I have, anyone can.
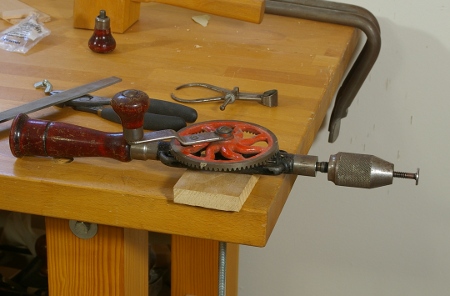
It’s actually quite simple because it’s derived from normal saw-sharpening practice. You start with a file with a handle and flat block of wood as described in Lee’s book and any saw sharpening site out there. To get the tooth spacing, make yourself a little guide. I wrote my own PostScript program to do it (check the Plans and Guides page for PDF versions ugh, gotta restore that some time), but I imagine that there are plenty of ways you can do it with several packages.
Get some reading glasses; they help a lot.
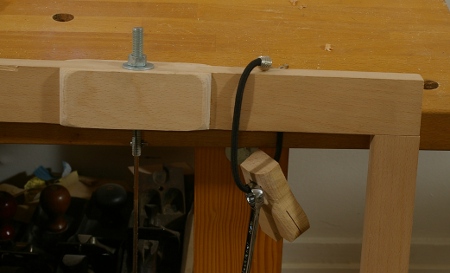
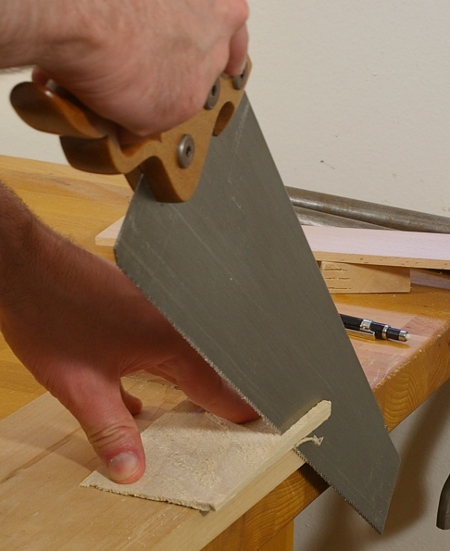
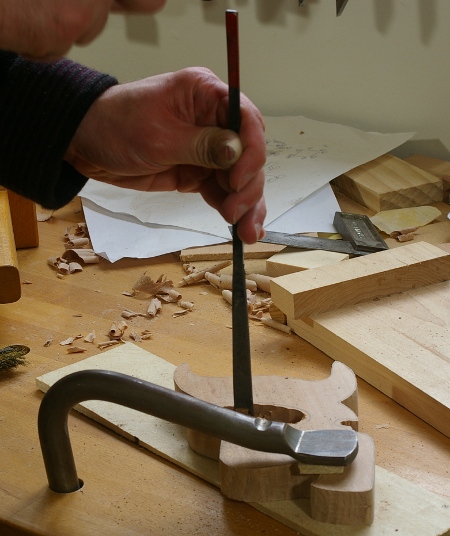
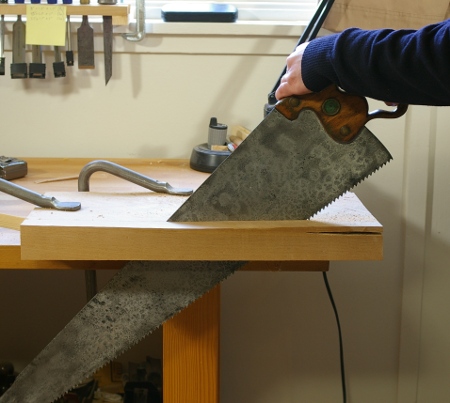
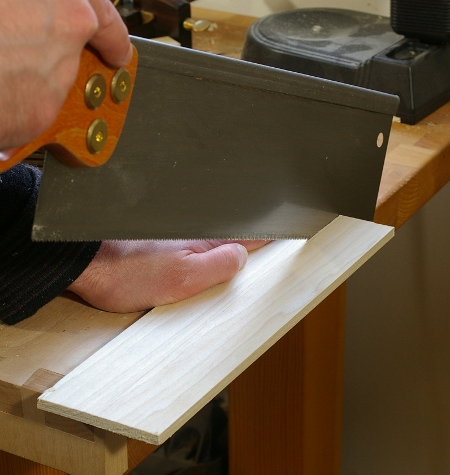
Fold the guide over the front jaw of the vise, put the blade in, just peeking over the top, and make a first pass with the file, just filing in a little notch over the top of each line (sorry about the fuzziness, but I just don’t have a macro lens):
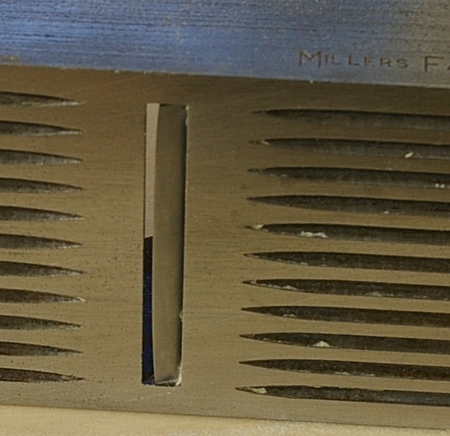
Notice that I’m not really getting the spacing spot-on; you can tell from the flats at the tips of the newly-formed teeth. Don’t worry about this on your first pass–you’re going to refine it later on. You don’t even have to worry much about the file itself on the first pass. The one I’m using here is way too big for the final tooth size (this will be a 16TPI saw that I will reveal later). I’m doing this because I don’t want to put unnecessary wear on a relatively expensive small saw file.
After you’re done with the first pass, do a second pass to go deeper. Make an attempt to correct for uneven spacing by putting a little pressure left or right as you’re filing, but use a very light touch; don’t make any extra strokes with the file just to even it out, and don’t press harder than you normally would. You still want to be fairly consistent in the newly-cut tooth valley size. The unevenness will disappear as you make more passes with the file.
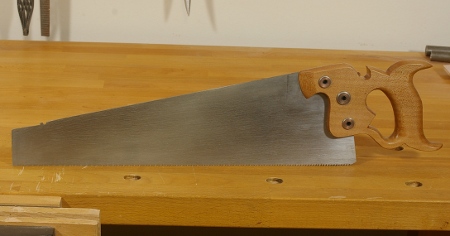
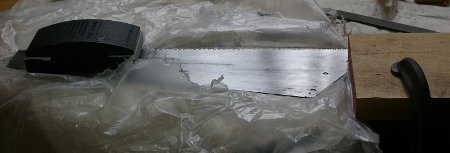
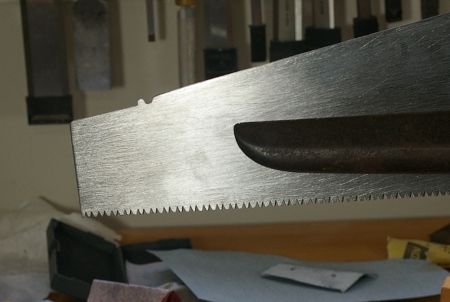
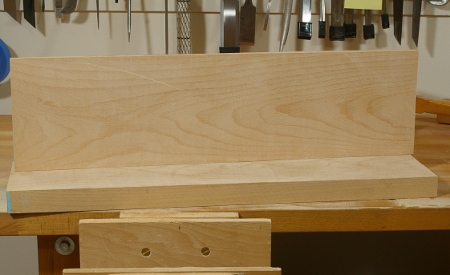
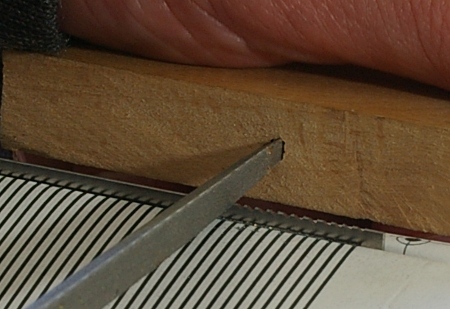
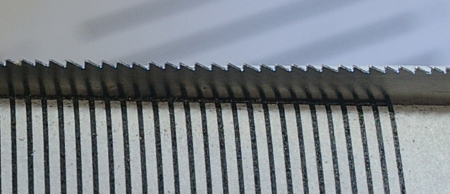
In the saw above, the teeth are so small that I went most of the way with my second pass, this time using a file that’s appropriate for the pitch. You can see that the teeth are slightly uneven, but not by extreme amounts:
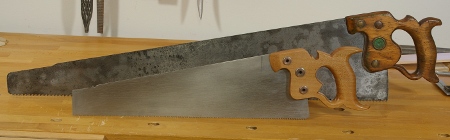
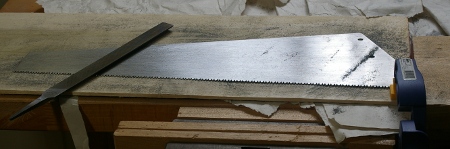
I then set the teeth, jointed them, and did a final filing. At that point, the teeth were quite even. It’s important to joint and file after you set the teeth because the act of setting the teeth dramatically alters the orientation and shape of the cutting edges. In addition, you’ll often accidentally set the teeth more than you need. A final pass at sharpening helps reduce the set. For the saw above, I used a fine-tooth saw set at its minimal setting, and it was still too much!