Yeah, that dining room table was supposed to be done last year. Well, that didn’t happen due to what I’d describe as a combination of excessive chaos and lethargy. However, work was accomplished, if not by way of kicking and screaming.
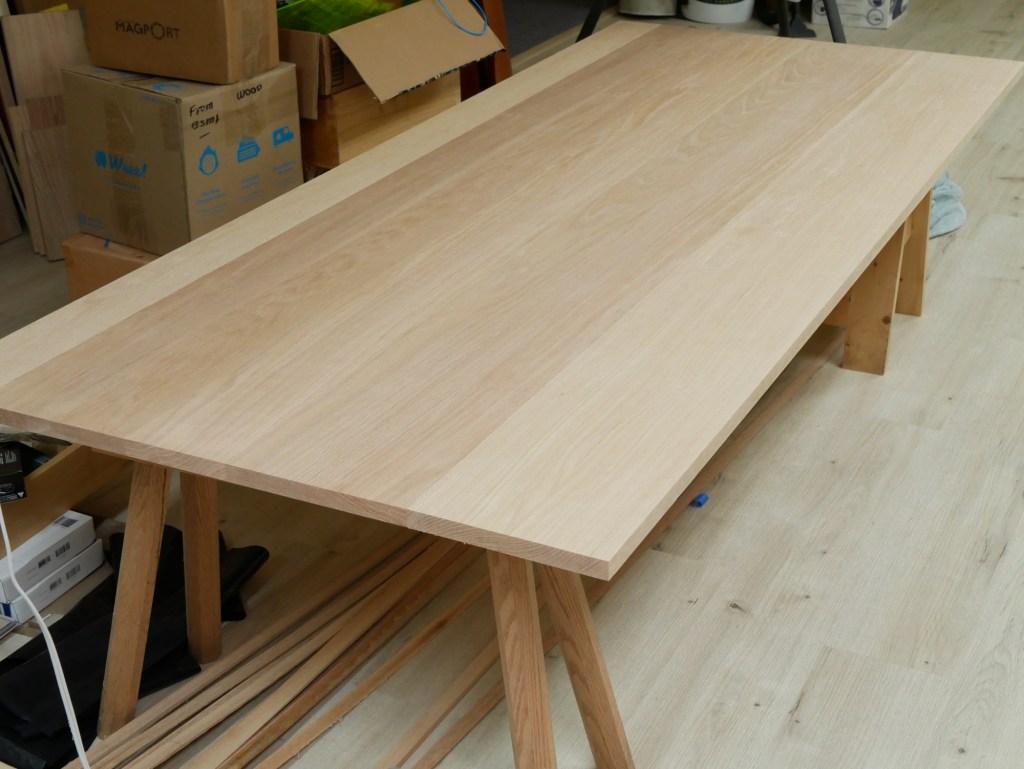
The top has been complete for some time. My progress became slower when it got too large for me to move by myself. Because each additional board required the top-in-progress to be moved to or from the bench three times, that turned into a multiple of times when I needed to find someone to help, which turned out to be more problematic than I would have cared for.
Nonetheless, here is the top, sitting on (and therefore, annoyingly, blocking the use of) my sawbenches:
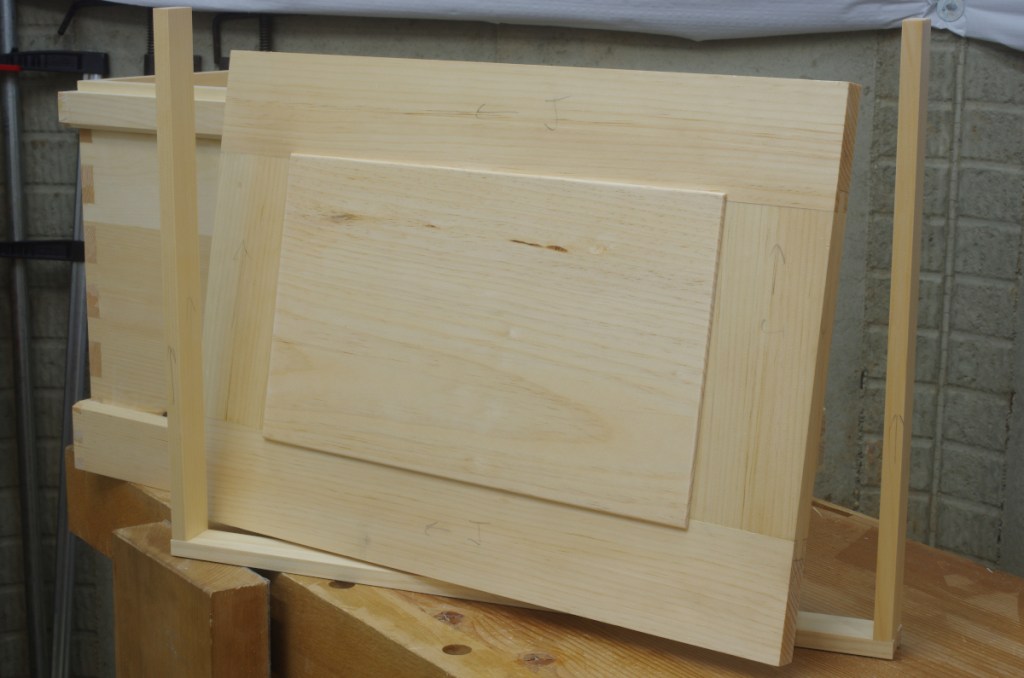
Then I moved on to the legs. I’ve had those glued up, squared, and dimensioned for a couple of months:
And I’m stalled there for the moment. The next steps will involve some mortising in those legs, and I’m not quite ready for that. Or something. Sure, I felt like I wanted a little more experience with my mortiser, for one, but there’s been a bigger problem.
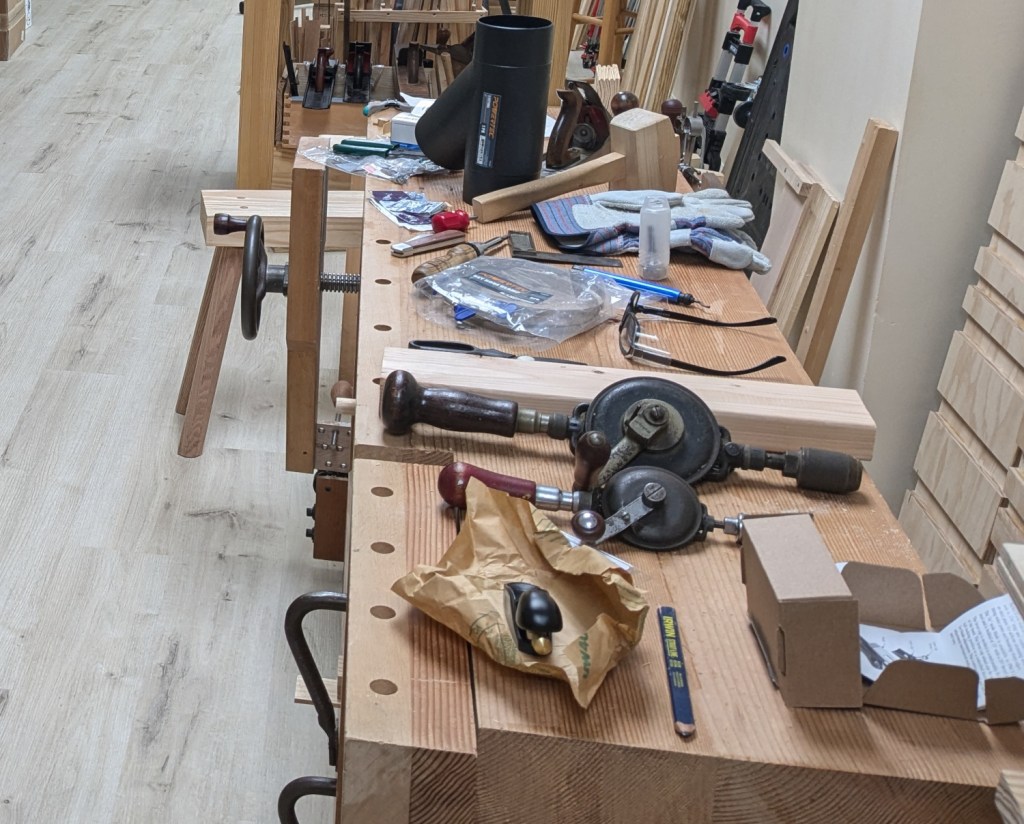
The “new” shop in NJ has been sort of a wild animal, and I feel like I’ve had difficulty finding a way to get things organized in a way that doesn’t involve tools, parts of projects, boxes, and wood sitting all over the place, getting in the way.
Mind you, especially in light of how many times I’ve moved over the last 20 years, it was never terribly good.
This time, it felt worse. I don’t know what it was. It’s felt like I’ve been constantly fighting with the tools and benchtops, trying to keep the former off of the latter, but not having much luck because, sheesh, where is this thing supposed to go again? See below (I know, I know, you’ve seen a lot worse than that, but clearing this all of the time is a drag, and I have to clear it on a regular basis):
Maybe it started with the circumstance of needing to install a new floor before I could even really do anything. It took me more than half a year after moving in to gather the time, energy, and come up with a plan to do that.
Maybe it was discovering that the movers had kindly dented my bandsaw during the move, and that they refused to pay for it despite being obligated by law to. (Trust me, movers, and especially your bean-counters, I will remember that.)
Maybe it was the dust collection saga. I didn’t really have use of my bandsaw and thickness planer until I got that sorted out. I did mostly get it sorted out, though I have to ask why it had to be as unbelievably annoying as it was.
Maybe it was having to deal with lighting for the umpteenth time and still not completely nailing it (yet).
Maybe it was discovering that my vision had managed to get even worse, necessitating new near-vision glasses just to be able to saw to a knife line again.
Maybe it’s still not having a good solution for storing long boards.
Or probably, it’s been a combination of all of these things. Is this preventing me from doing work at all? No; I have done quite a bit of work in the new shop (after installing the new floor, of course). Much of that has been necessity, such as new drawer fronts and such for the kitchen, moulding for parts of the house, and so on. But it’s felt like a struggle, more than it should be.
I resolved to do something about this a few months ago. The difficulty I’ve been facing is that it’s not just “one thing.” There’s no silver bullet that will magically make everything better. However, somewhere along the line, I noted that the things I had stubbornly slugged my way through, such as the floor and the (still in-progress but mostly acceptable) dust collection, had really improved the situation down there.
So I’ve subconsciously mixed in shop improvement with furniture projects this year. Even something as simple as looking at where some boxes are and discovering how they can move a little bit to yield some more usable floor space helps.
And that brings us to the mystery project. I’ve gotta do something about the general hand tool organization problem. Yeah, I’ve got shelves and stuff, but they kinda suck. So here is the start of phase 1:
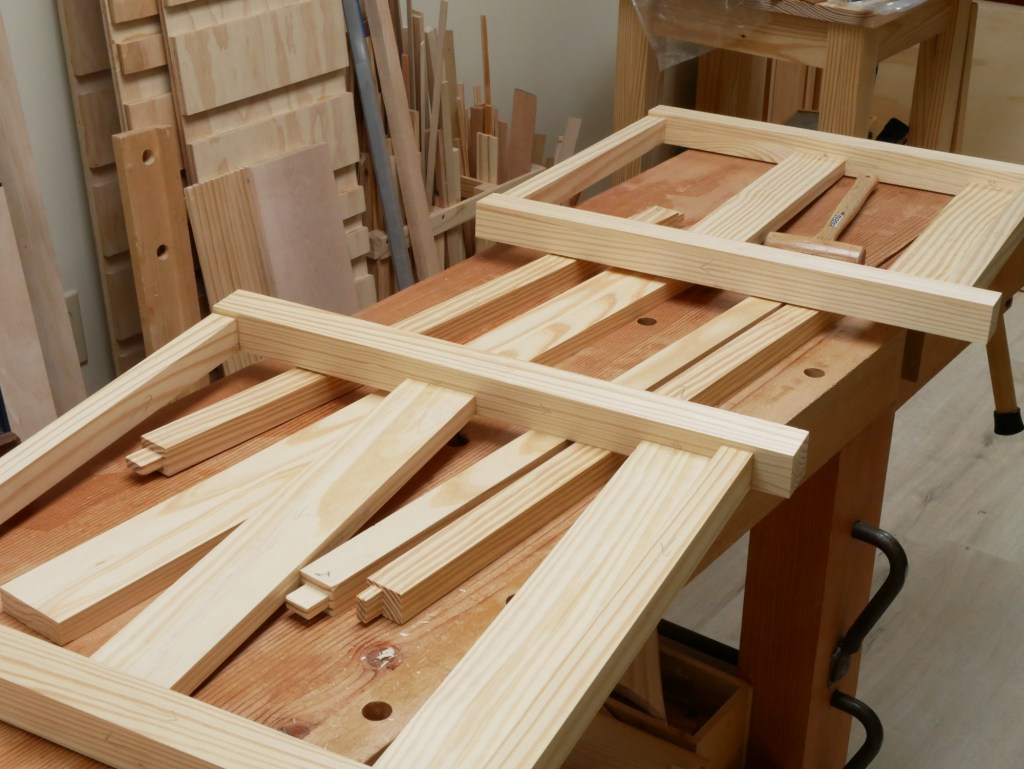
So, yeah, it’s a frame for something. I still need to make the front door, side and rear panels, and some other bits and pieces, but it’s been rolling along pretty well. Hey, I said I wanted more practice with the mortiser, and this thing has delivered (I should also mention that I built a new table for the mortiser, which has been a serious improvement.)
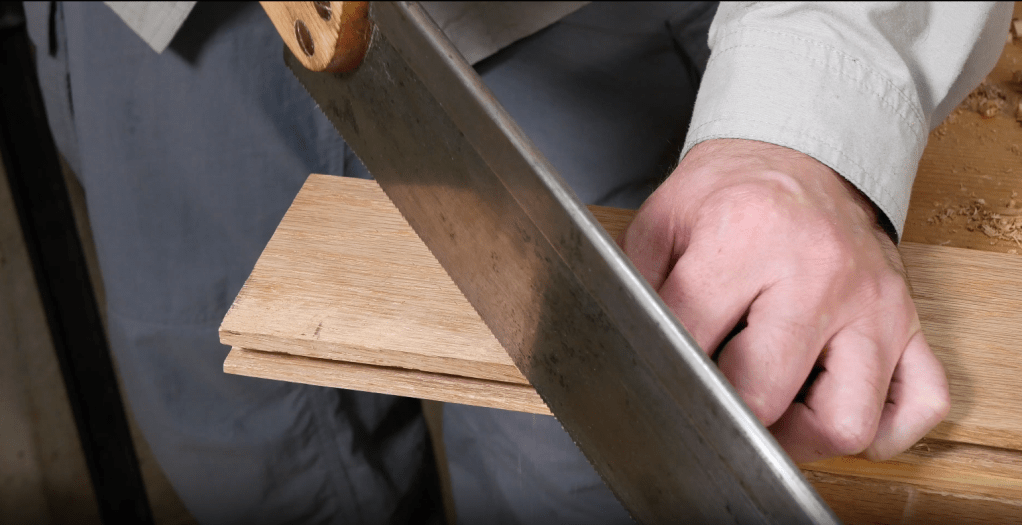
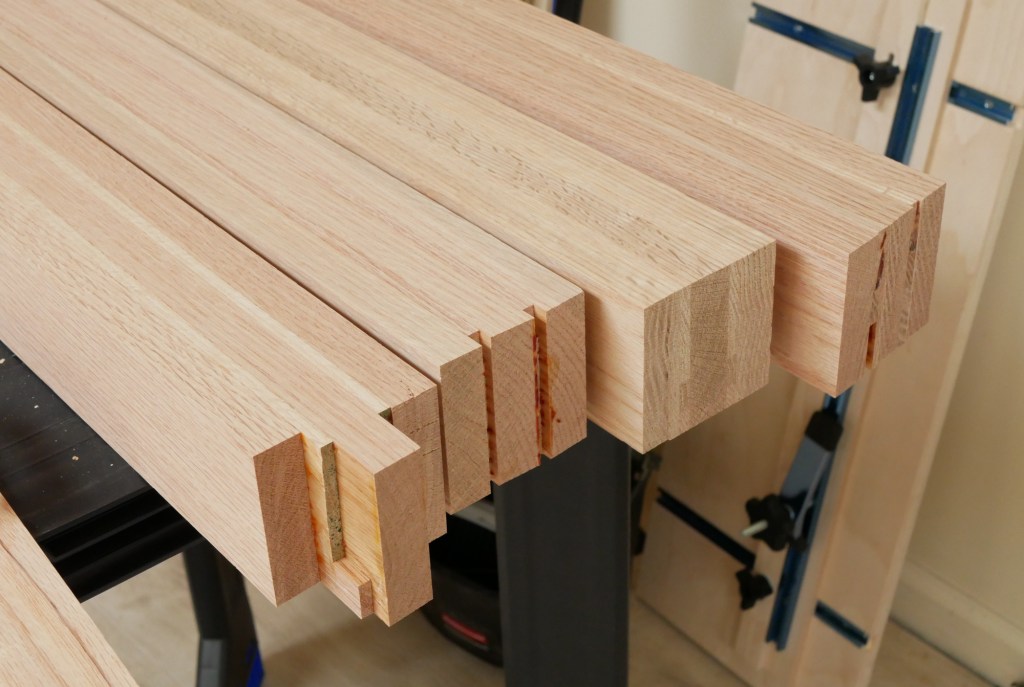
Of course, all of the mortises mean that there are plenty of tenons, and I’ve been working away at sawing those. I’ve tried out a new technique for marking those which seems to be going well, but I want to fool around with it some more before describing it. (And I’ve found myself thankful that I finally bought a shoulder plane; it really does a nice job at that one thing that it’s supposed to be good at.)
So, phase 1. I don’t think I’ll get to phase 2 before I’m in the final stages of the dining room table, but I’m going off of the assumption that any improvement is… an improvement.