I’d like to say that I’ve been off designing a new project for the last three weeks, that I’ve made a new workbench, or that I’ve been moving, or something like that.
But no, I’ve been making a new mortise gauge, and yes, it took me nearly three weeks (mainly because I haven’t spent much actual time in the shop due to an acute case of laziness). This is based on the marking gauge I made a while back, but I wanted to solve some of the deficiencies of that one.
I should also mention that the whole reason I wanted a new mortise gauge was to correct an irritating problem in the two-armed Asian-style gauge that I have now: there’s only one thumbscrew to secure the whole thing, and the two arms are separated by a little metal plate. When you’re trying to adjust one arm, the plate moves, moving the other arm slightly. It takes a lot of dorking around (at least for me) to get both adjusted to the correct length. So I resolved that I would fix that by making a two-armed version with two independent thumbscrews.
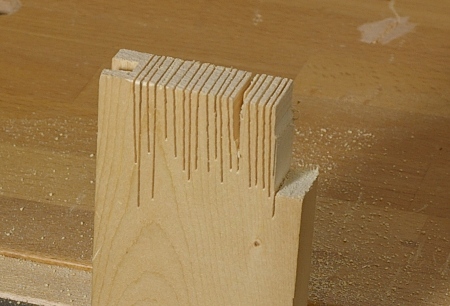
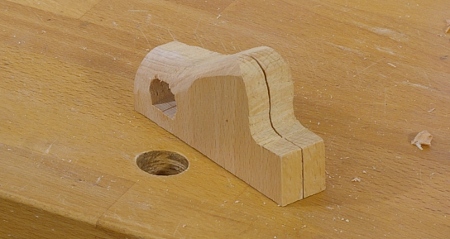
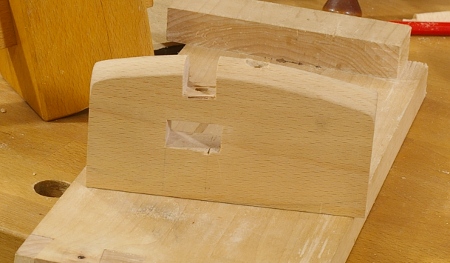
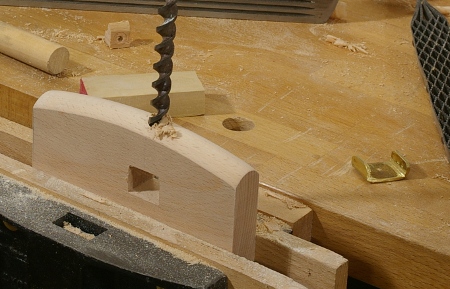
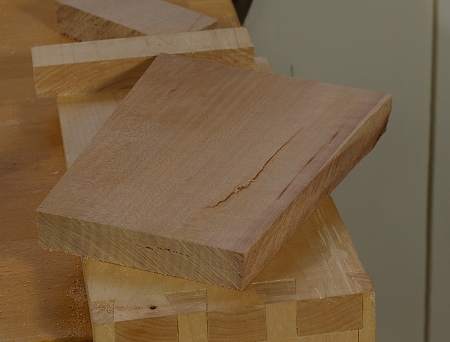
I started by making the stock out of some of that pacific madrone that I’ve got hanging around, using the same technique as in that earlier post. This is the view after I’d cut the mortises, drilled the small guide holes, and shaped the top:

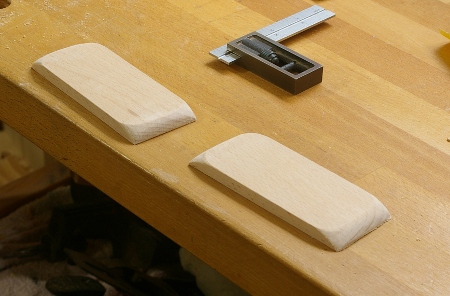
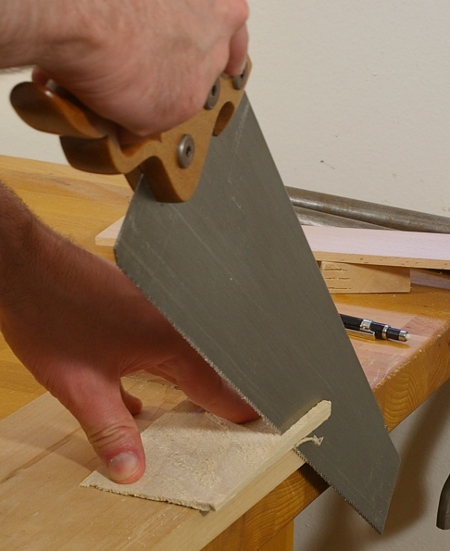
When I set about making the arms (out of beech, for whatever reason), I fine-tuned them to fit the mortises tightly using the old “plane clamped upside down in the vise” trick that was featured on what I think was a fairly recent episode of St. Roy’s show:

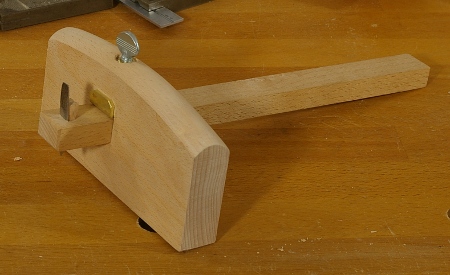
Just watch that you don’t plane your fingers! When the arms were fit, I had this:

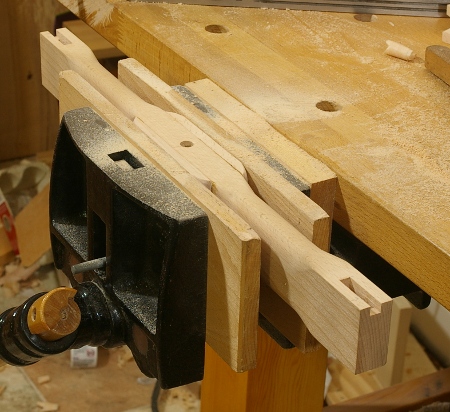
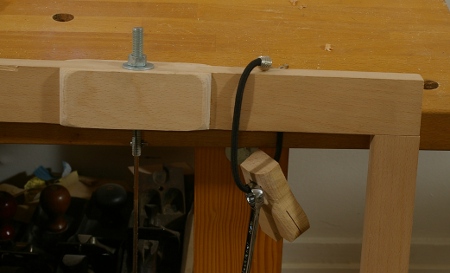
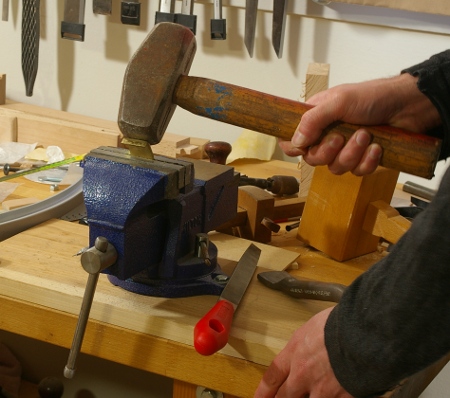
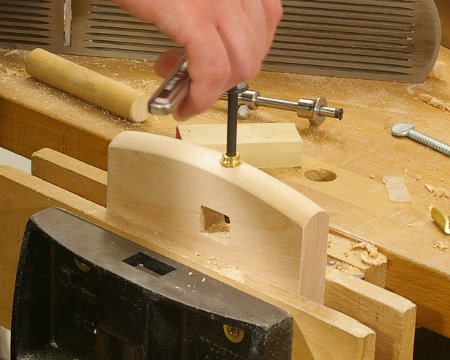
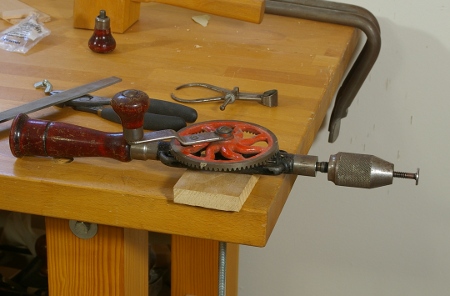
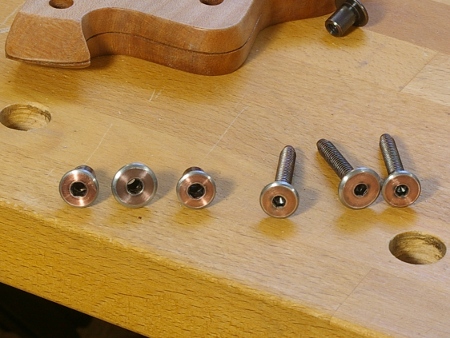
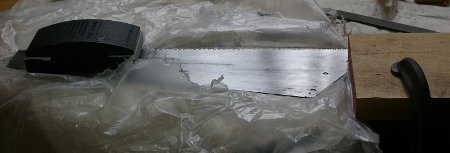
Then it was time to put in the screw inserts for the thumbscrew securing mechanism. Sometimes this can be a real pain, and it was a really big pain this time. I started by enlarging the guide holes with a #5 auger bit:

The problem was, however, that a #5 bit was too small for an insert (seen behind the vise above), and a #6 was too large. Furthermore, the screw inserts were brass, which means that they are very easy to mangle. I used a round file to enlarge the holes slighty, then gently drove in the inserts with a bolt. (Prayer may also have been involved; I do not remember.)
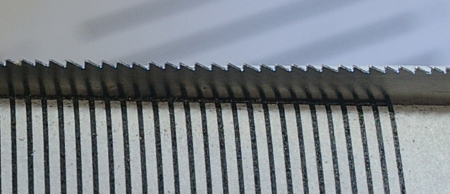
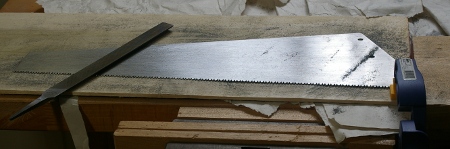
With that part done, I made the holes for the blades, the wedges to secure the blades, and finally, the blades themselves (out of spring steel again). Remembering my goof from the previous marking gauge, I put the wedges on the outsides of the blades this time. The wedges were also fine-tuned using the clamped-plane method described above.
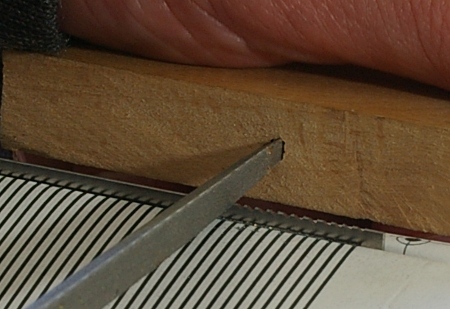
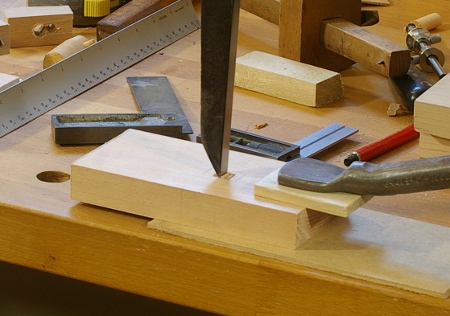
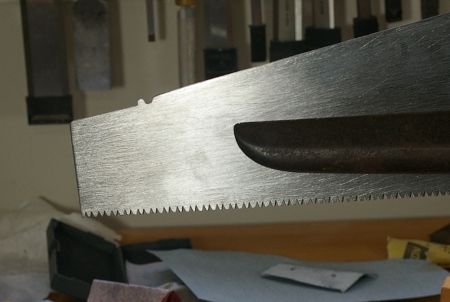
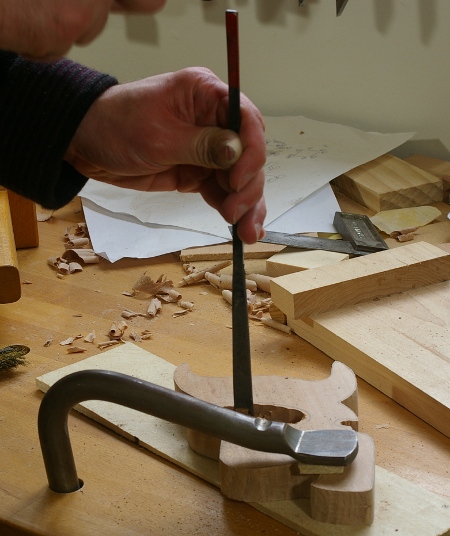
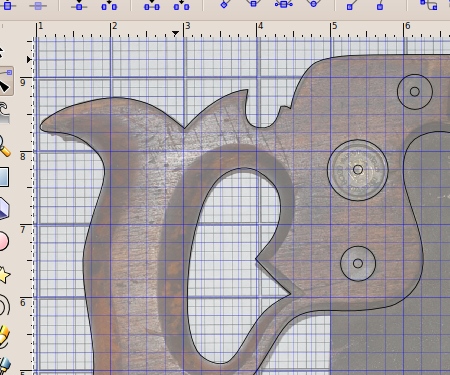
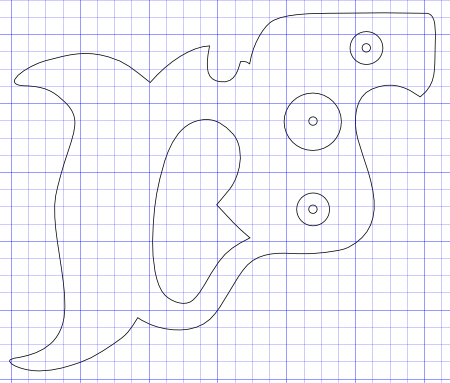
Then I made the “saddle pieces” that I described in the marking gauge post. This time, I bought a thinner strip of brass so it was easier to hammer to shape. Then, to design around the problem of the saddle getting in the way, I marked where the blades hit the saddle:

Then I sawed and filed out a notch in each saddle so that the blades could be brought flush to the stock:

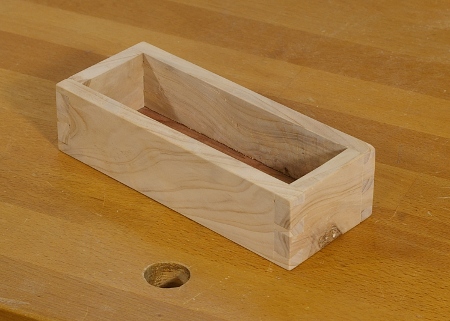
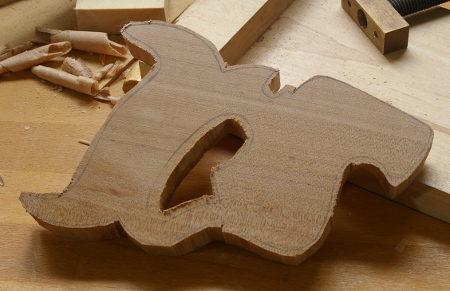
At that point, there was nothing left to do but trim the thumbscrews and wedges down to size, and call it done:

Initial tests seem to indicate that it works.
[Edit: If you’re thinking about making a marking gauge, see this post for an important tweak that helps resolve a certain annoyance in this style of marking gauge. This one doesn’t have that issue, but bigger ones tend to.] I’ll restore this link some day, maybe